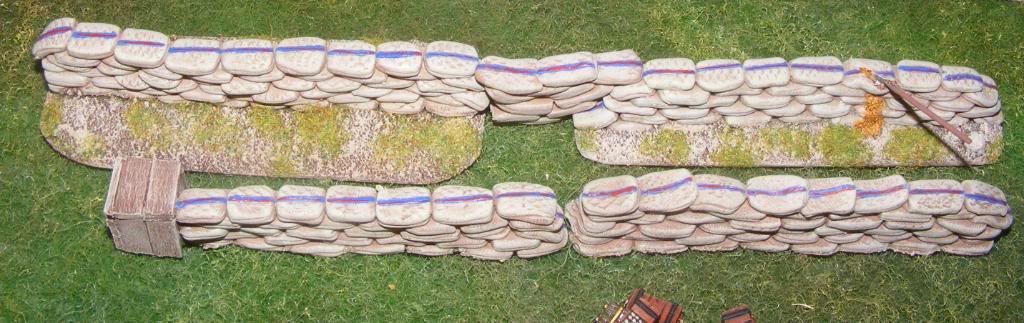
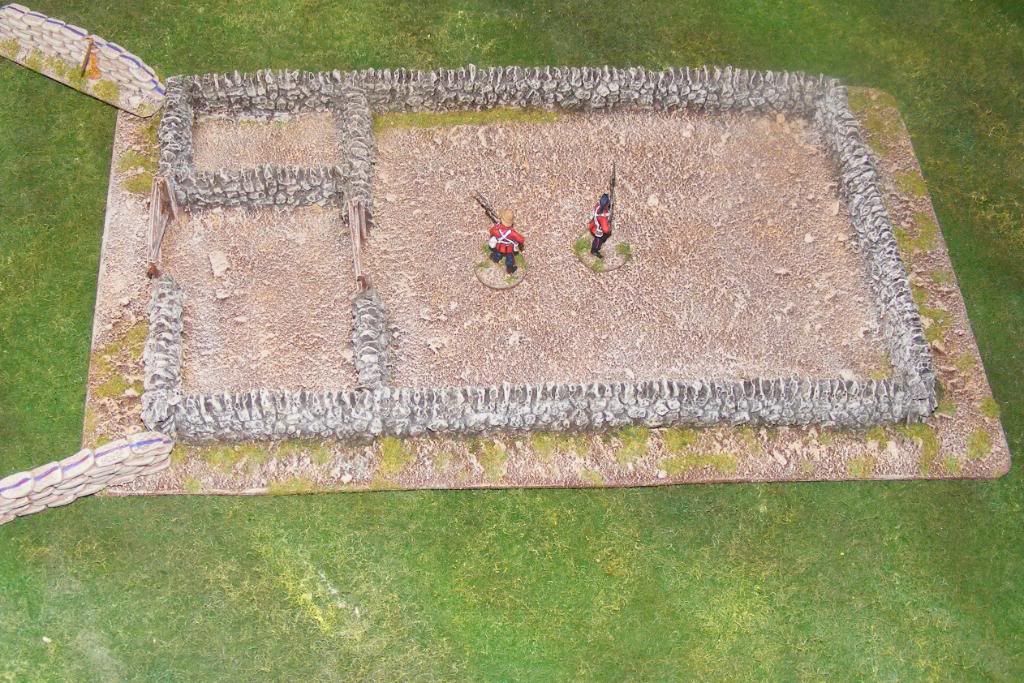
Garden Walls, Meelie Bag defences, and Kraal’s
Progress with the scenic’s required for the Rorkes drift are progressing at a steady pace the larger part of the time seems to be taken up with research to try and be as accurate as I can be given the limitations of gaming and limited modelling abilities. I started with the plan of doing all the smaller stuff first so as I have something finished and to spur me on with the project. To that end most of the smaller stuff is now finished although I am thinking at this time of re modelling the meelie bag walls as the ends of the casts just don’t fit together right without sanding down the edges.
Anyways on with the progress report.
One of the first things that you know you are going to need lots of for Rorke’s drift are Meelie bags. There are a few suppliers that you can get them from, But as usual I decided to make them myself , partly to maybe save a bit of money , but mainly because I like to build the scenic’s myself when ever I can.
Sculpy Meelie bags
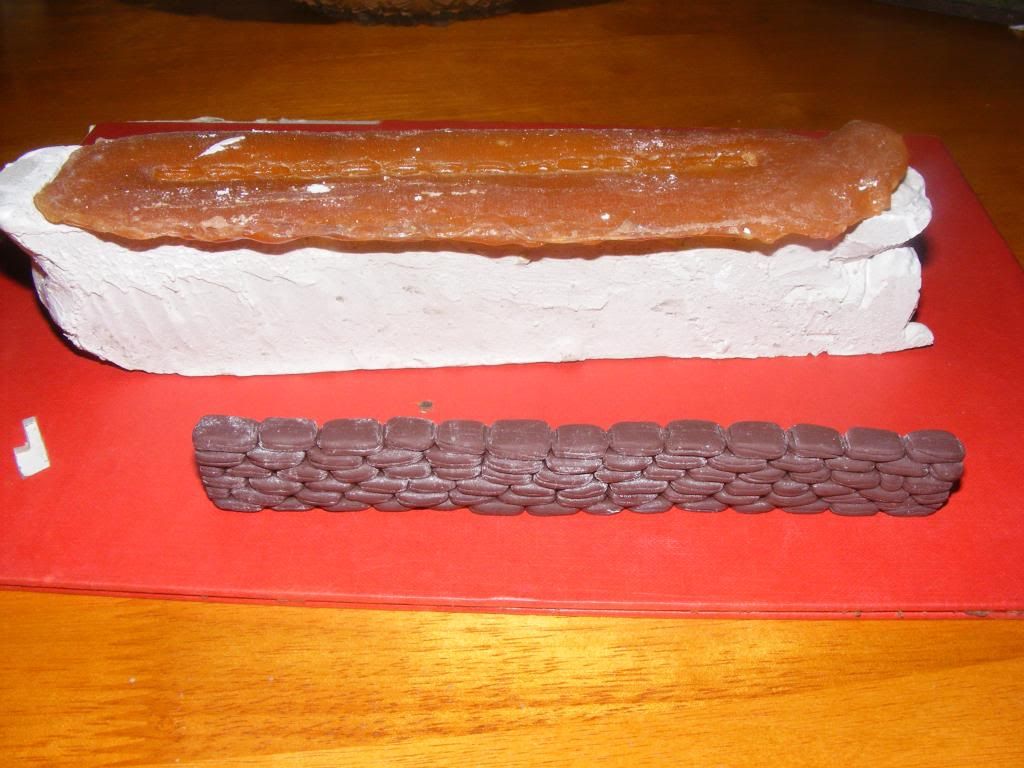
The first test pieces were made out of Sculpy and came out really nice, but it was obvious that for the amount of meelie barricades needed making each piece by hand with sculpy was impractical as well as very expensive. So the next piece of meelie bag wall I made I used as a master for a latex mould.
Sculpy Master and Mould
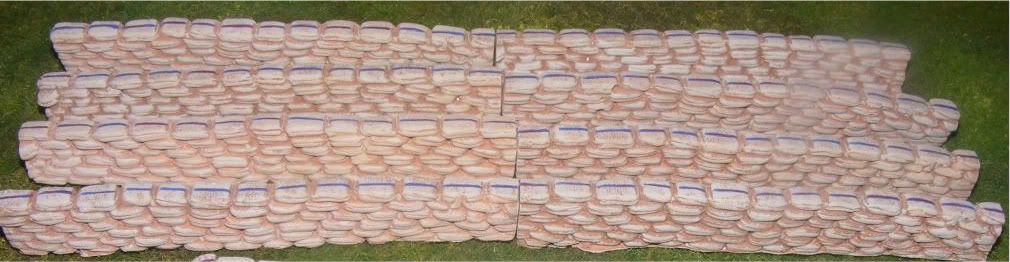
I used hurculite plaster for the meelie bags and so far I’ve had no breakages. The only problem is that I forgot to ensure that the edges were square. They are not and so I have to square off each piece I cast. I’m now considering making a new master and mould.
Cast meelie bag walls
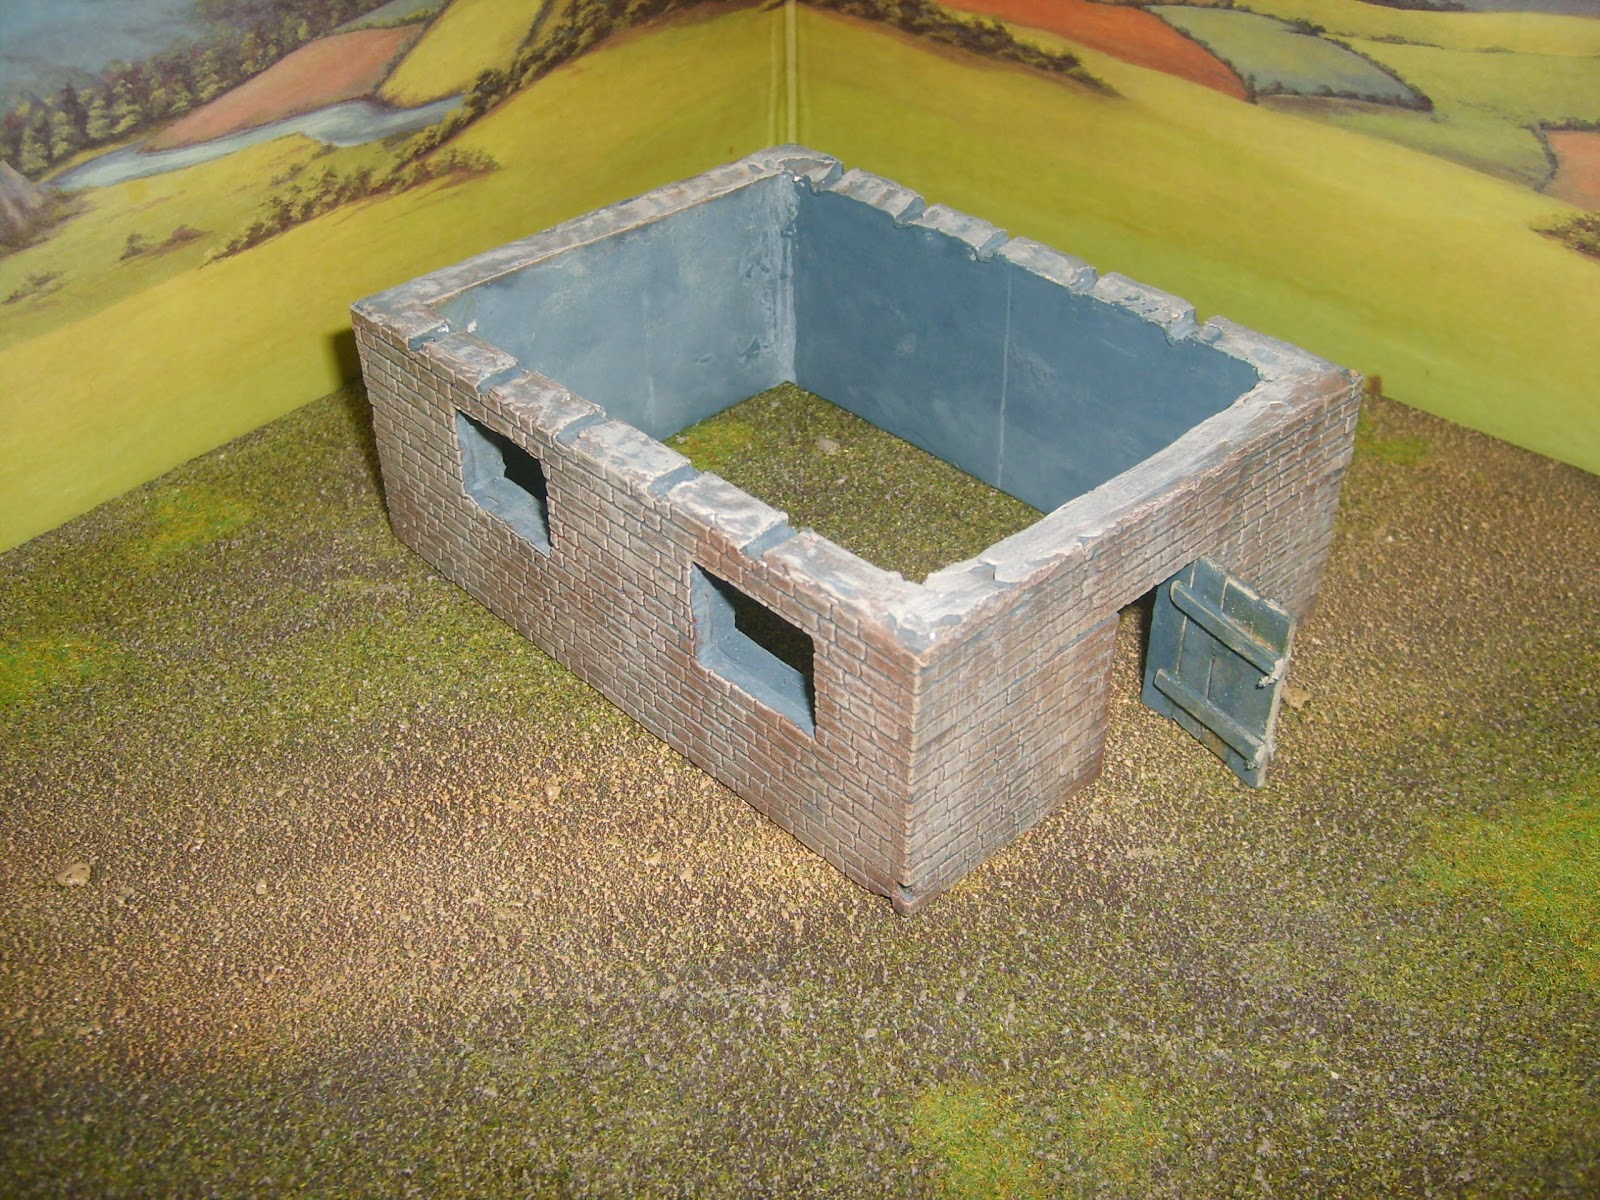
The Garden walls and walls for the Kraal were again made from a master and cast in plaster. The master for the walls did not fare as well as the sculpy meelie bag wall master.
It was a piece of wood with gravel pieces glued on with contact adhesive.
Garden Wall Castings
A lot of the gravel came away while de moulding the master. But I at least have a good mould, and this one at least has square edges thanks to the piece of wood.
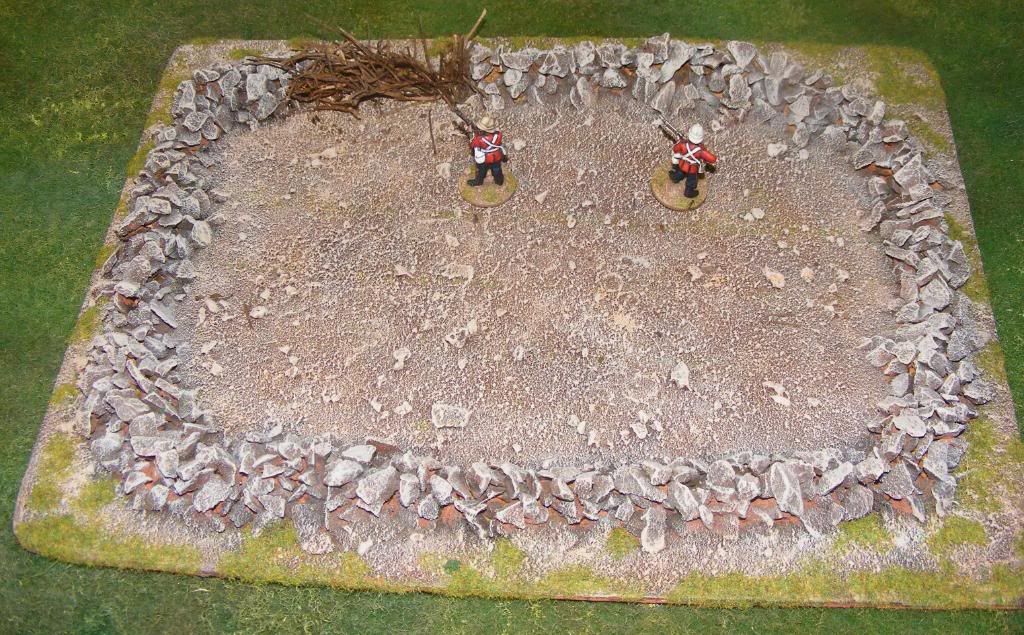
Stone Kraal
The rough stone Kraal was made by simply super gluing large decretive stone gravel pieces to the base board and painting.
Rough stone kraal
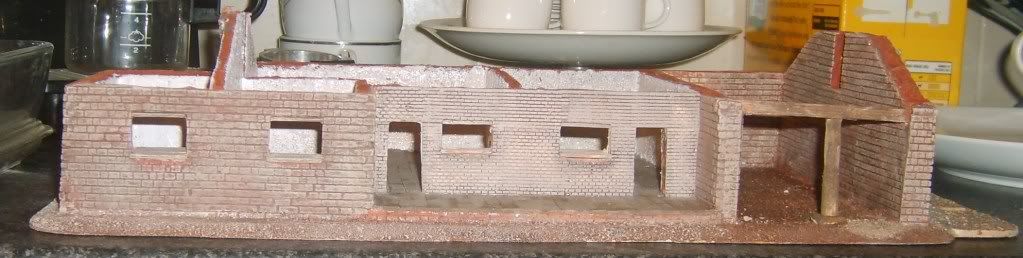
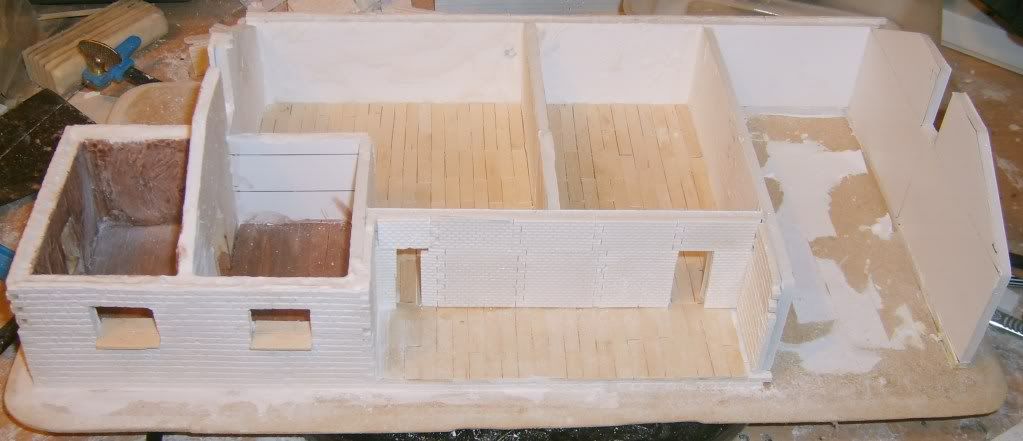
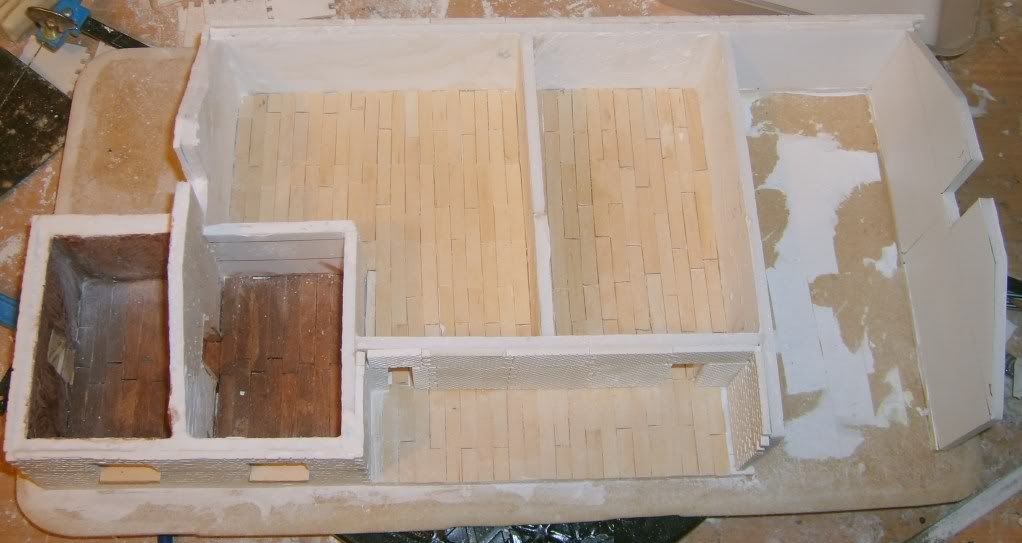
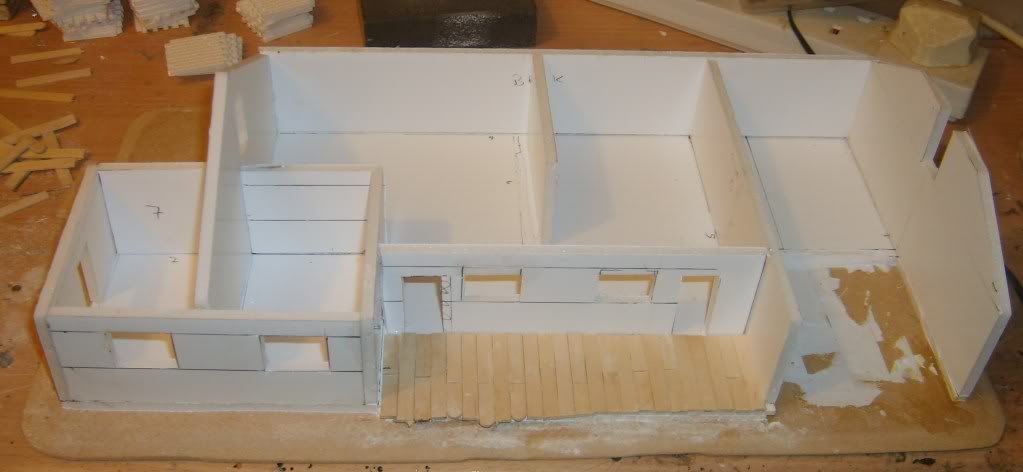
So next up is to remodel the meelie bag wall and cast them, make up the biscuit box wall , again I made a master for this and tried casting them but I did not check the undercut between the boxes and the mould is unusable, So I will just scratch build them, and to make a start on building the hospital and storehouse.
All for now Terry